SPOILER ALERT
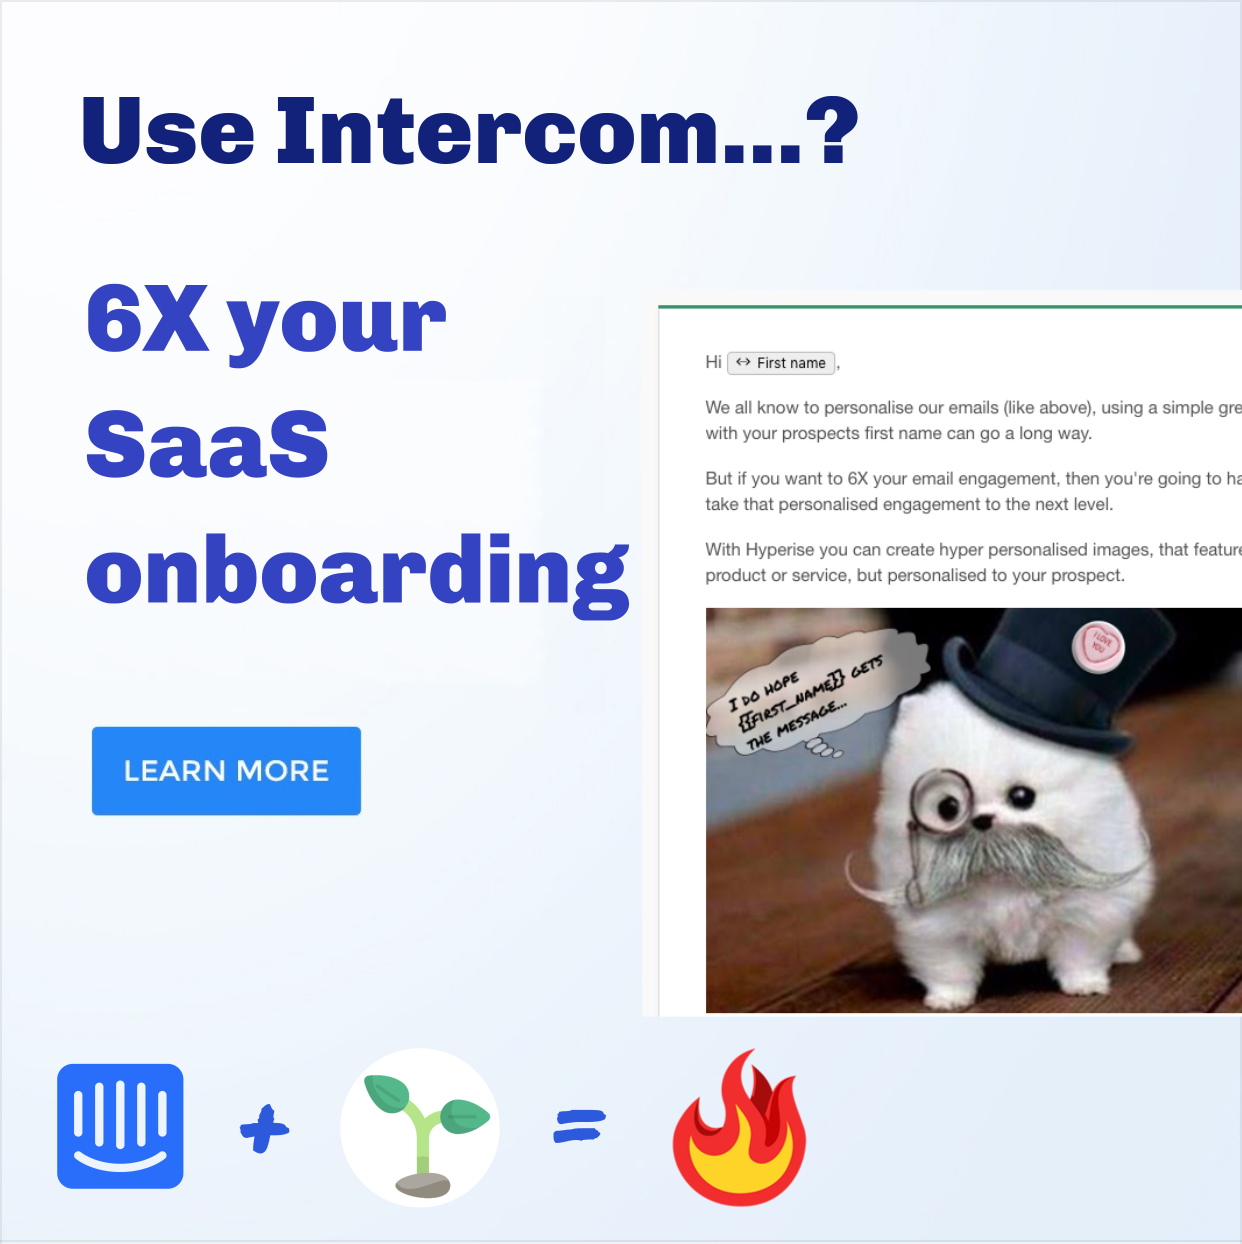
We’re big fans of Intercom and of course we have great confidence in our own product. So we shouldn’t have been surprised our onboarding engagement increased 6X when we hyper personalised our onboarding sequences. #dogfooding

The problem with onboarding
If like us, you have a SaaS product that offers a trial signup process, especially a ‘no credit card required’ trial, one key metric to pay attention to is the number of user sessions.
More specifically trialists on 1 session and how to re-engage those users who never come back, is a key metric to conquer for success.
A recent study suggested that even the best-in-class of SaaS platforms were losing a staggering 75% of those who signed up for a free trial.
We’ve worked with some smart people on getting our onboarding implemented, such as Aaron Krall a SaaS onboarding specialist and Jon Buchan, who’s killing it with his Charm Offensive.
We also gorged on all of the great expertise and advice that’s out there on Digital Marketing tips.
So we knew our baseline was a pretty good reference point, but like any SaaS platform with a free trial, the one visit wonders are a tough nut to crack.
45% of our users who commenced a trail didn’t come back for a second visit. Good or bad, I’ll leave that opinion to you, but better than the reported 75% loss for best-in-class SaaS platforms.
Every SaaS has a limit
Now of course, no amount of onboarding is going to fix a bad product, or in our case an MVP with limited use cases.
Optimisation can’t fix everything, we expect the biggest improvement in second visit conversion (and likely aha moment of value realisation) will increase over time as product developments are delivered.
However while we’re waiting for the improvement of conversion through product development, we thought we would spend the time usefully and optimise the funnel we do have, ready for the big time.
We’re using a trial sequence devised by Aaron Krall, that moves the prospect along based on action, or inaction, which works perfectly with Intercoms campaigns feature.
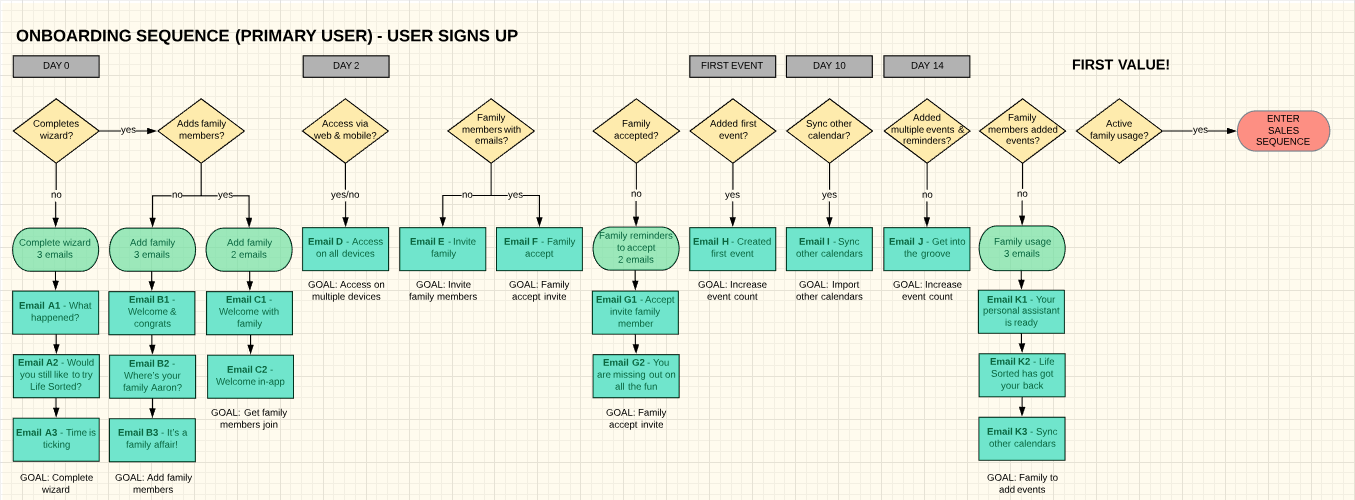
We then took advantage of Intercom’s A/B test feature, allowing us to set a message goal of re-engagement and pit our messages against each other.
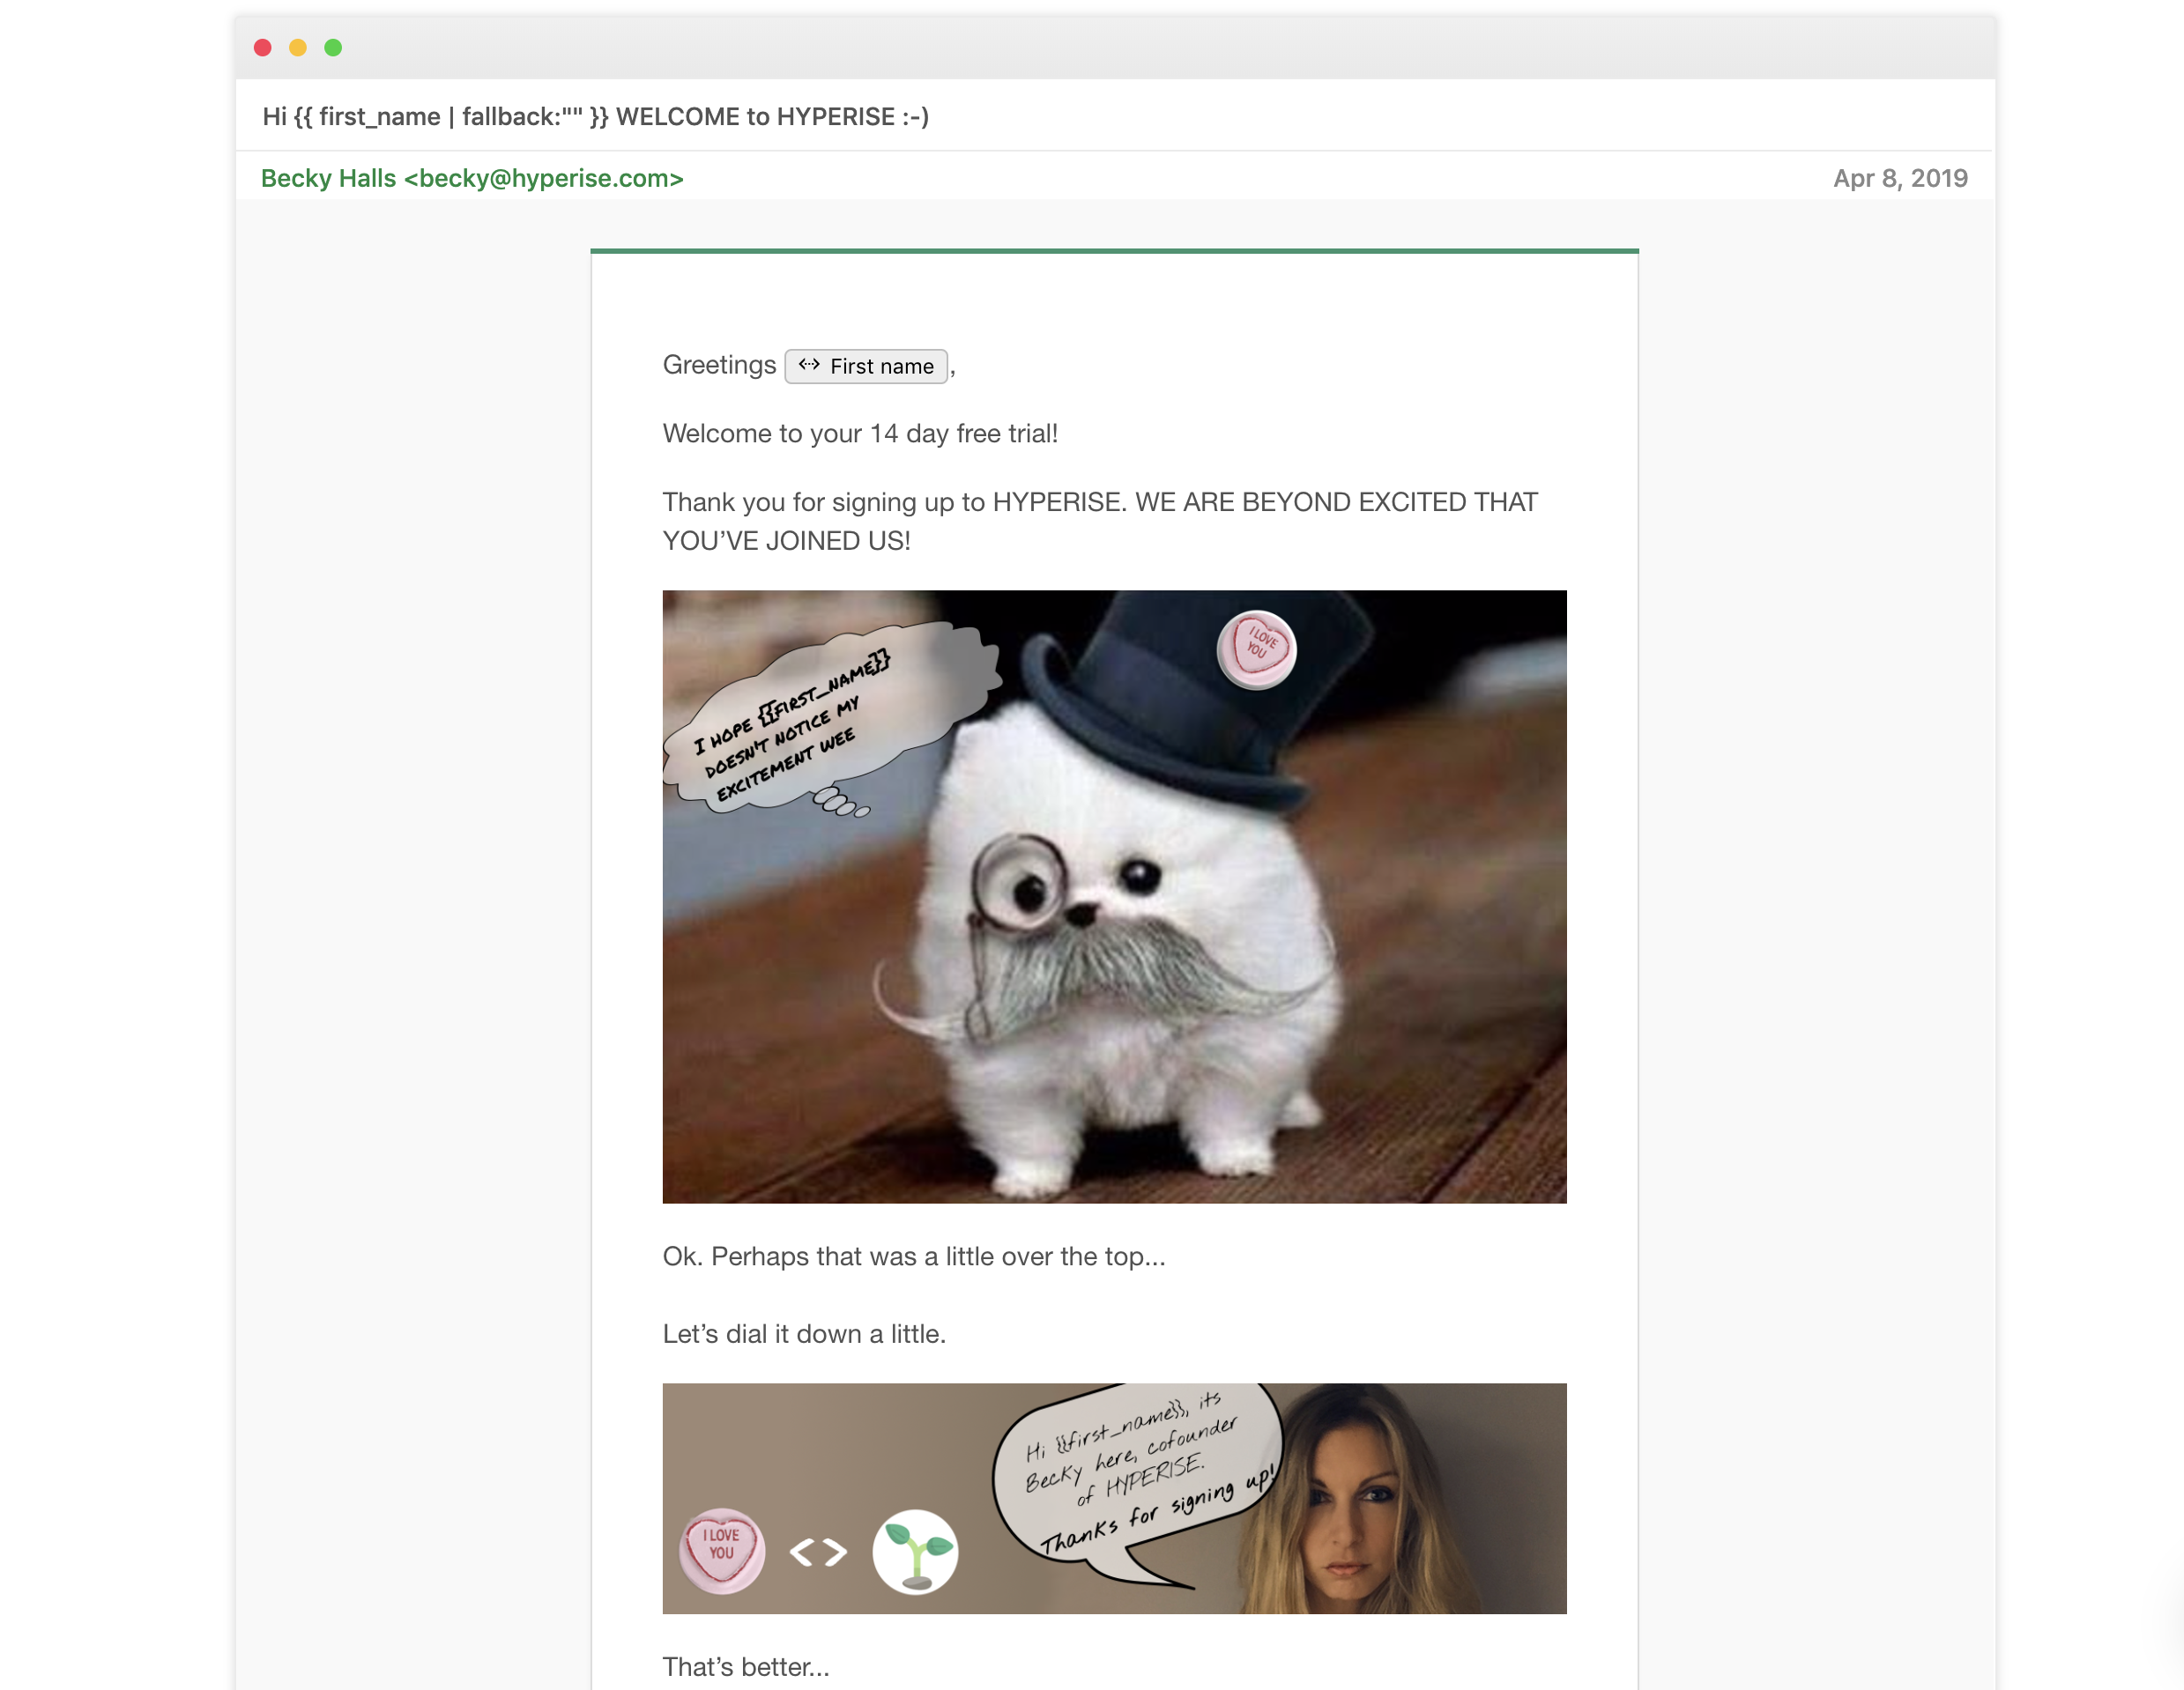
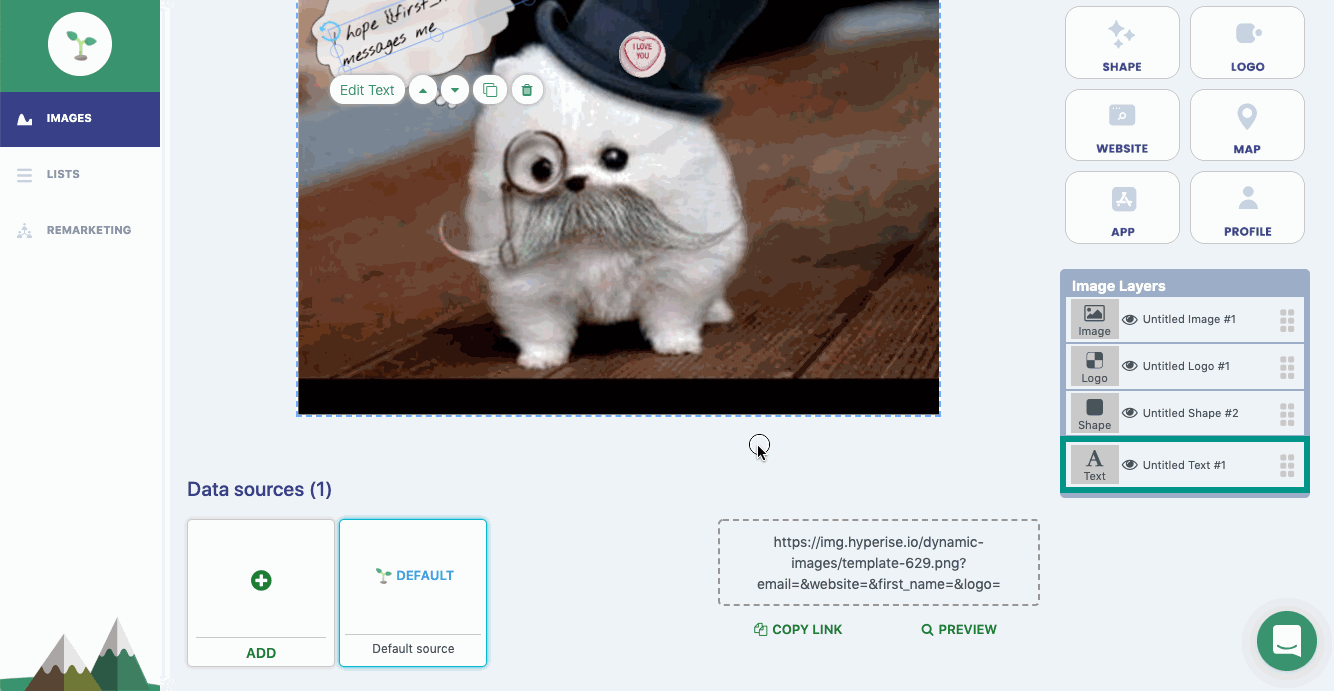
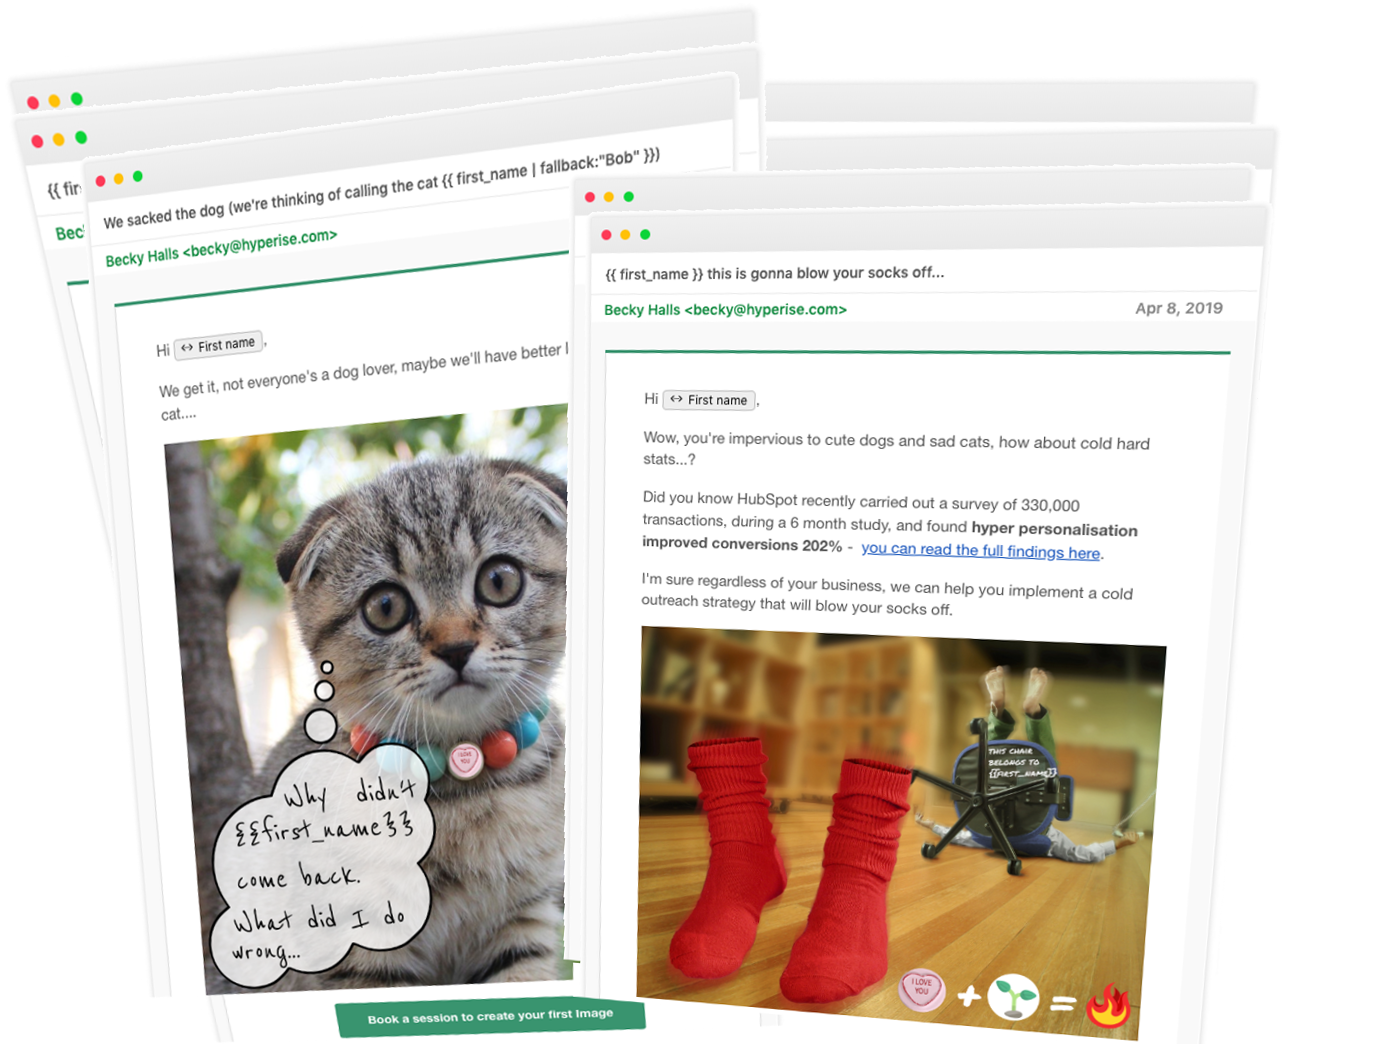
We took a liberal sprinkling of Jon Buchan’s SaaS Bundle Pack and personalised one of Jon’s example images, with the business logo and prospect first name, to lighten message.
The goal of the campaign was to get trialists back into the platform, either by booking a demo, or directly revisiting the platform.

In the end we grew the onboarding engagement 6X when we hyper personalised our onboarding sequences.
Pretty cool results! Whilst not everyone is a dog lover, the results speak for themselves, this mix of humour and personalisation has had a significant impact, that will pay further dividends as we roll out through our entire onboarding comms.
Steps to setting up your own personalised onboarding
- Take a picture of you holding a blank piece of paper, or your team holding a blank banner.
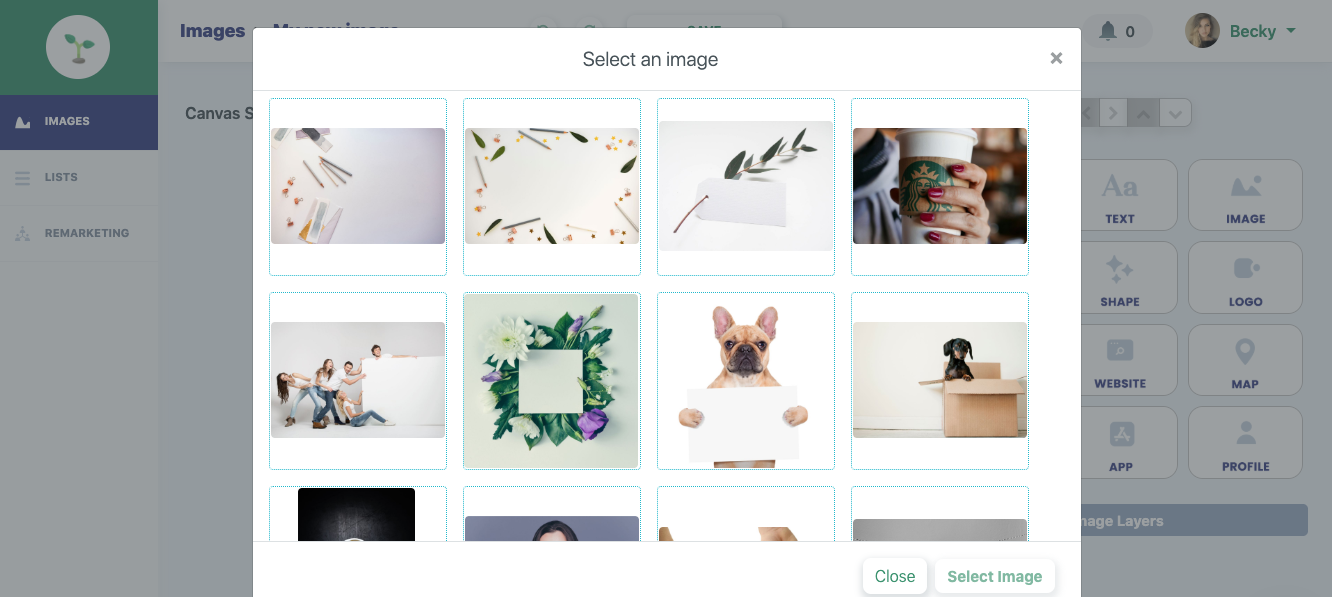
Hint: If you don’t want to go down the route of a picture of you or your team, within Hyperise we have 100’s of templates and images that can be creatively used to deliver personalisation and humour.

- Upload the image to your Hyperise account (or start a free trial), to create a dynamic image template, and hyper personalise your new users welcome message. If you really want to be cute, add their logo, or profile pic as a badge you’re wearing 😉
In this image template we’ve added a company logo as a badge to the dogs top hat, we also set a fallback of a Love Hearts sweet, for the occasions when the prospect doesn’t have a business or logo.
- Add Intercom as a data source to your image. Once Intercom has been added as a data source, make sure its selected, then copy the Image Link.The image link copied will include all the required Intercom tags to personalise your email.
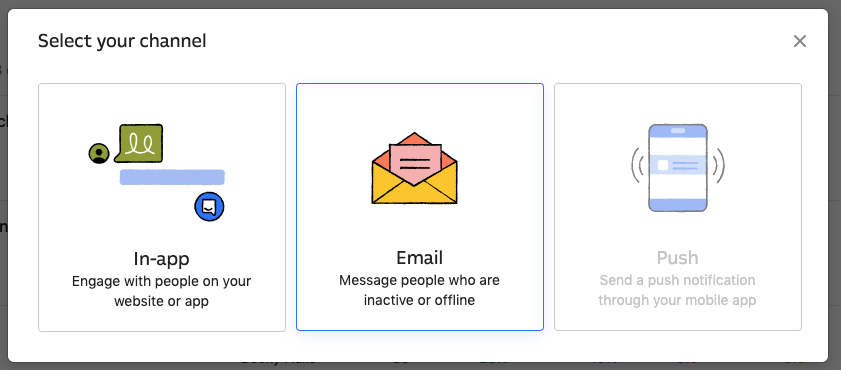
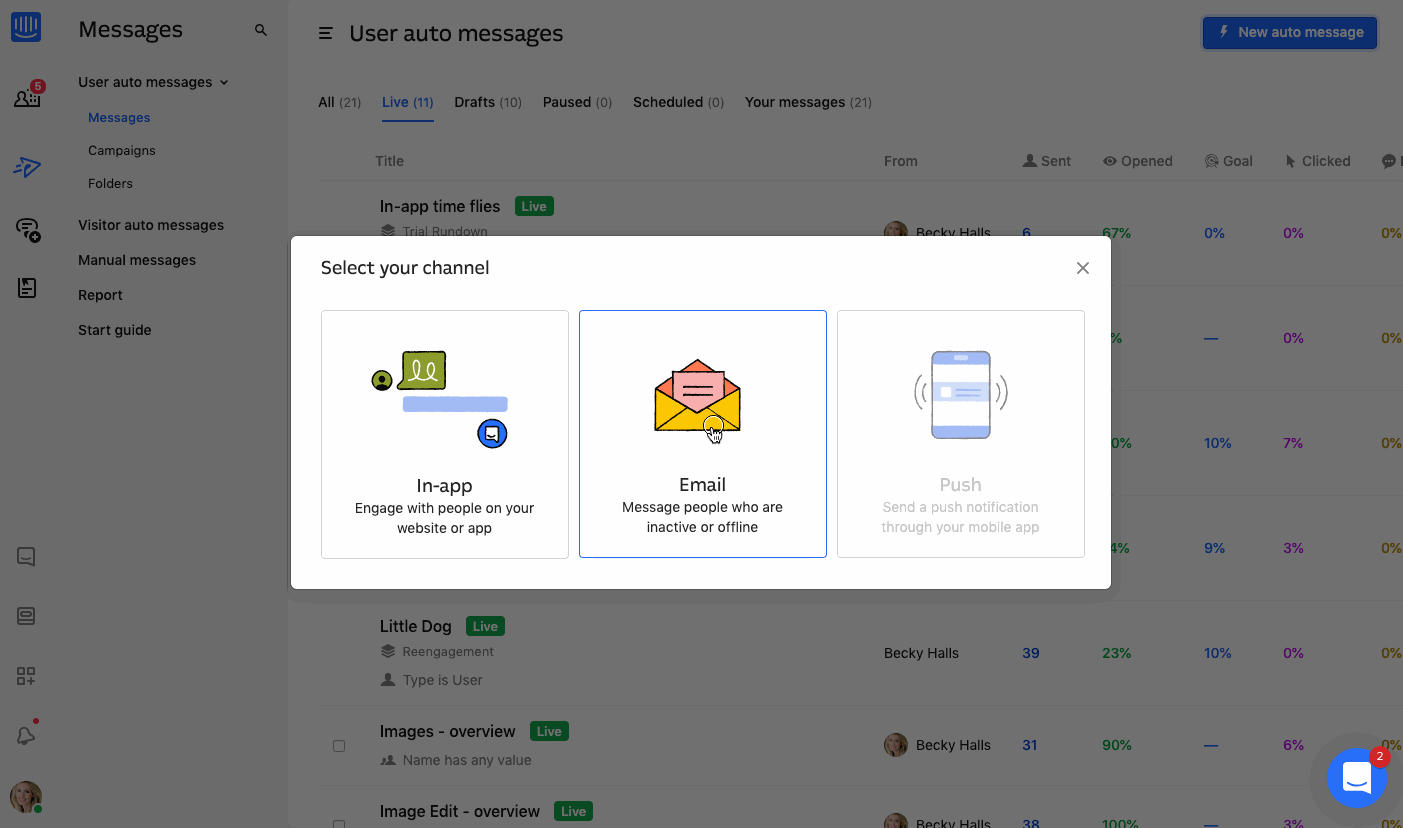
- Go to Intercom and edit your existing message, or create a new email message.
- Within the Intercom message editor select ‘Insert HTML’ then paste in the copied image link from Hyperise.
- Save the message in Intercom and set live. That’s it! Intercom will now pass the prospect data it has to the image, which will be created on the fly, as Intercom sends out the prospect message.

The above six steps can now be repeated for each of your sequence messages. Some might not warrant an image, but using humour and clever personalisation can be a great pattern interrupt that get your potential clients thinking about you again.
Going Further
6X your email engagement… Uplift CTA conversions 202%… and increase Ad ROI’s by 500-800%!
It’s NOT magic… but it might as well be! Learn how to hyper personalise your whole sales funnel.
Click Get Started below, start your FREE Hyperise Trial, and get a Hyper Personalisation Strategy Session…
 | GET STARTED NOW |
Last Updated on January 19, 2021 by Ian Naylor